BeenVerified is a popular background check service that allows users to search for public records, including names, addresses, phone numbers, and criminal records. However, due to privacy concerns or simply no longer needing the service, many users may wish to delete their BeenVerified account. This guide will walk you through the steps to permanently delete your BeenVerified account across various devices and platforms.
Why Delete Your BeenVerified Account?
Many users decide to delete their BeenVerified account for a variety of reasons:
- Privacy Concerns: The extensive personal information available on BeenVerified might make users uncomfortable.
- No Longer Needed: Users may no longer need access to public records and background checks.
- Subscription Costs: The subscription fees may not be justifiable for some users.
- Simplifying Online Presence: Some users prefer to minimize the number of services they are subscribed to.
Regardless of your reason, this guide provides the necessary steps to delete your account.
How to Delete Been Verified Account: Step-by-Step Guide
1. Deleting Your Account via BeenVerified’s Website
- Step 1: Visit the BeenVerified website and log in to your account.
- Step 2: Navigate to the account settings. Look for options such as “Account,” “Subscription,” or “Billing.”
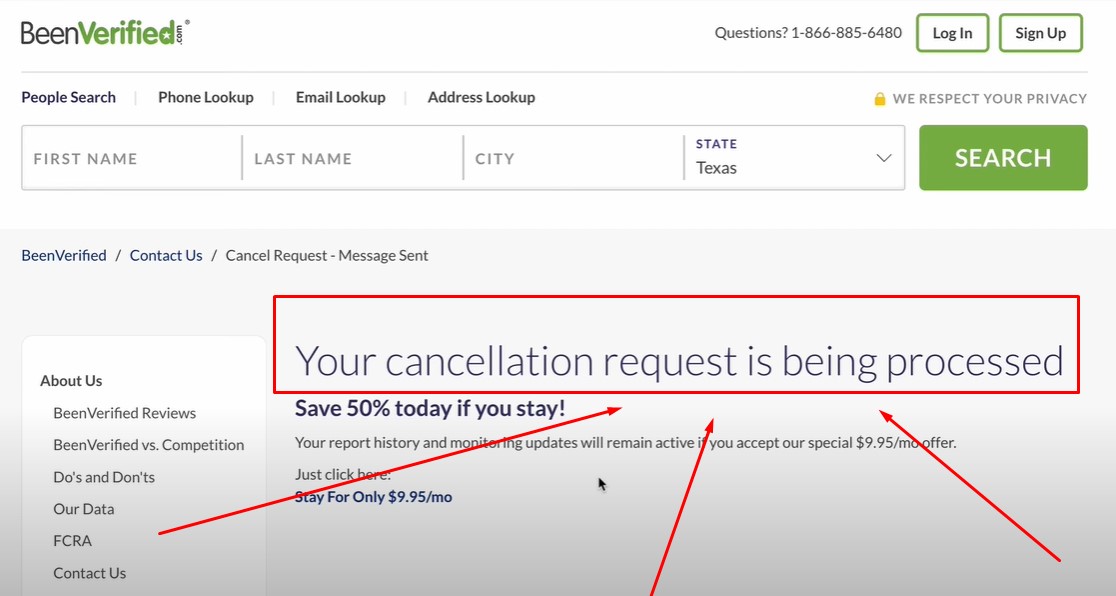
- Step 3: Select “Cancel Subscription” if you’re on a paid plan. This is essential as you need to cancel any active subscriptions before proceeding to delete your account.
- Step 4: After canceling your subscription, locate the option to delete your account permanently. If this option is not readily available, you may need to contact BeenVerified support via email at [email protected] requesting the deletion of your account.
- Step 5: Wait for a confirmation email from BeenVerified, which should contain a link or further instructions to finalize the deletion process.
2. How to Cancel BeenVerified Subscription on iPhone or iPad
If you subscribed to BeenVerified through the iOS App Store, follow these steps:
- Step 1: Open the Settings app on your iPhone or iPad.
- Step 2: Tap on your name at the top of the settings menu to access your Apple ID settings.
- Step 3: Select Subscriptions and find the BeenVerified subscription.
- Step 4: Tap Cancel Subscription and follow the on-screen prompts to complete the cancellation.
3. How to Cancel BeenVerified Subscription on Android
For Android users who subscribed via the Google Play Store:
- Step 1: Open the Google Play Store app on your Android device.
- Step 2: Tap the menu icon (usually three horizontal lines) and select Subscriptions.
- Step 3: Locate your BeenVerified subscription and tap Cancel Subscription.
- Step 4: Follow the on-screen instructions to finalize the cancellation.
4. How to Delete BeenVerified App
Once you’ve canceled your subscription and deleted your account, you may also want to remove the app from your device:
- On iPhone/iPad: Tap and hold the BeenVerified app icon until it starts shaking, then tap the X to delete the app.
- On Android: Go to your device’s Settings, then Apps & Notifications, find BeenVerified, and select Uninstall.

Frequently Asked Questions
How Long Does It Take to Delete a BeenVerified Account?
The deletion process can vary, but once you submit a request, it usually takes a few days for the account to be completely removed from BeenVerified’s system.
Can I Get a Refund After Canceling My Subscription?
Refunds depend on BeenVerified’s terms of service. Typically, they do not offer refunds for unused portions of a subscription. It’s advisable to cancel before the next billing cycle to avoid additional charges.
What If I Have Multiple BeenVerified Subscriptions?
You will need to cancel each subscription individually. If you have any difficulties, contacting BeenVerified’s support team is recommended.
Is Deleting the App the Same as Deleting My Account?
No, deleting the app from your device does not delete your account. You must follow the steps outlined above to cancel your subscription and delete your account.
Can I Delete My BeenVerified Account Without Canceling My Subscription?
No, you must cancel any active subscriptions before you can delete your BeenVerified account.
Conclusion
Deleting your BeenVerified account is a straightforward process, but it’s important to follow each step carefully to ensure your personal information is fully removed. Whether you’re using an iPhone, Android, or PC, the key steps involve canceling any active subscriptions, contacting support if necessary, and confirming account deletion. Taking these steps will help protect your privacy and simplify your online presence.

